
Are you looking forward to learning the Canon PIXMA TS3522 wireless setup? Well, you are not alone. Setting up a printer is always easier said than done. Many people get a brand-new printer but don’t know where to start when it comes to setting up the machine. Also, sometimes people encountered some errors during the setup.
If you are facing either of the cases don’t panic, as you are about to learn several proven methods to set up your printer. In the following content, you will discover the top 3 useful methods to complete your setup process with utmost ease.
Method 1: Using the Canon PRINT Inkjet/SELPHY App
With the help of this method, you can perform the Canon PIXMA TS3522 wireless setup on your smartphone device.
- At the start, confirm that you have a secure and stable wireless network.
- Next, connect your smartphone to the same network on which you are planning to setup the printer.
- Then, you need to launch the Play Store or App Store, depending on your mobile, and install the Canon PRINT Inkjet/SELPHY app.
- Now, move to your printer and ensure it is on. (If not, then connect it to a power source and press the power button to turn it on.)
- On the printer, press and hold them until you see the Wi-Fi icon flashing.
- After that, go to your smartphone and access the Wi-Fi page from the Settings.
- Look for the list of the connection network list and then select the option with your printer’s model name.
- From the home screen, launch the application.

- When the app prompts, “Do you want to search for available printers?” then tap on Yes to move forward with the setup.
- Afterward, you will see the “Select a Wireless Router” page, which includes a list of available networks.
- Choose the network you want to connect to, type the correct password for it, and then tap on OK.
- If you see a prompt asking, “Do you want to connect your smartphone to the same internet router as the printer?” then tap Yes.
- Lastly, wait for a while to complete the printer setup process.
Method 2: With the WPS Connection
The following method explains the complete guide to complete the wireless printer setup without the help of a computer/smartphone.
- Before moving with the connection steps, move to your router to ensure that it has a WPS button.
- After that, you need to ensure that the Canon TS3522 printer is plugged in and turned on.
- Next, you are required to press and hold the Wi-Fi button until the power light begins flashing.
- In addition, press the black print button and then the Wi-Fi button and make sure that the Wi-Fi light starts to flash quickly and the power light remains lit.
- Then, quickly move to the router and press the WPS button on it. (You need to perform this step within 2 minutes to complete the setup.)
- After that, you will notice that the Wi-Fi light is flashing while searching for the network, and then during the connection process, the Wi-Fi and power light both will start to blink.
- Once the Canon PIXMA TS3522 wireless setup process is complete, the power and Wi-Fi lights will stop flashing and remain lit.
- You can perform a test print to check if the printer setup is done properly.
- Now, you can start using the printer for printing, copying, and scanning tasks.
Method 3: Through the Printer Driver Software
The following procedure will help you complete the Canon printer setup on your computer device.
- In the beginning, browse Canon’s support page on your computer device using a web browser.
- When you are on the homepage of the website, enter the full name of your Canon PIXMA TS3522 printer in the search section, and then from the result, select the correct option. (Also, if you want you can choose the printer’s name manually from the list.)
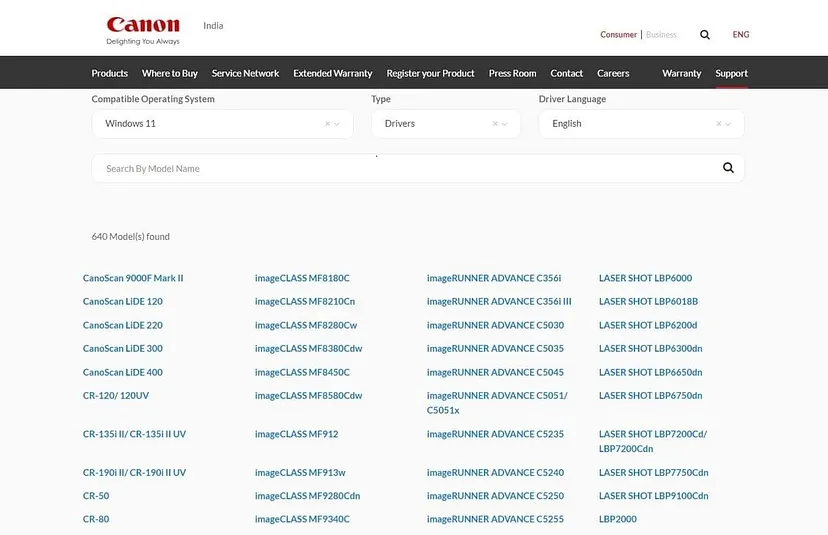
- On the open page, specify the operating system (OS) you have and select the OS version.
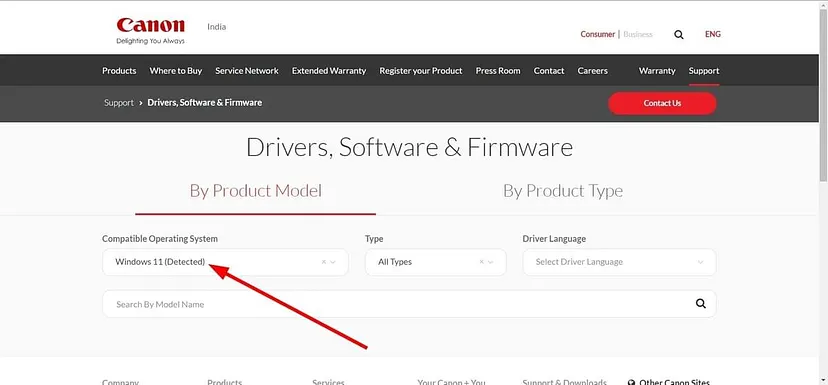
- Now, you will see the list of the most compatible drivers on the next page.
- You can select the driver you want to download for your wireless printer. (you need to select the recommended driver option if you are downloading the driver for the first time for a new printer.)
- Henceforth, the driver download process will begin; it can take some time based on the speed of your network.
- Once the download process is complete, follow the guide to open the file and follow the instructions to complete the installation.
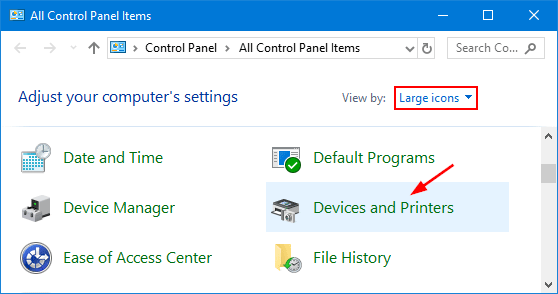
- Then, you can go to the Devices and Printers option to complete the setup of your printer.
- Once the Canon PIXMA TS3522 wireless setup is complete, the printer will start printing and scanning work.
Frequently Asked Questions
How to Connect Canon PIXMA TS3522 printer to iphone?
These are the steps you can follow if you want to connect your printer to an iPhone/iPad.
- For the first step, ensure that the printer and smartphone device are within the same connection range.
- After that, install the app from the Apple App Store program on the iPhone.
- Next, turn off the printer by connecting it to a power source.
- Then, go to the Wi-Fi and choose the network option with your printer’s name.
- Now, open the app and complete the connection process.
Why am I unable to complete Canon PIXMA TS3522 wireless setup?
The following could be the key causes of your printer not connecting to a device.
- Your printer is not compatible with that specific device.
- The device is facing some kind of technical problem.
- You are not following the correct printer configuration process.
- Both your devices are not in the same connection range, and others.
What are the things to know while setting up Canon TS3522 printer?
Before you start your printer connection process, here are the things you must follow.
- Ensure that the printer, computer, and router are within the same range.
- Download the suitable driver software for your printer from the official website.
- Check the compatibility of the devices before the setup.
- Make sure to install the printer ink cartridge properly.
- Load some paper in the input tray to print the test page after the setup.