
Are you looking for a guide to learn how to setup Canon wireless printer? I’m sure you’re a newbie, aren’t you? Even if you’re not, I’m here to help you with the Canon wireless printer setup on a device such as a computer or mobile device. All you have to do is to follow my guide till the end. Being a printer expert, I deal with such things on a daily basis. If you are struggling with the setup, don’t worry—I’ve got you covered here.
Before moving ahead, I want to say that Canon printers are a really good printer among wireless printing devices. These printers are popular worldwide, and you’ll see them everywhere, whether at home or in an office. Many industries from all over the world use this range of printers.
If you want a wireless printer connection, a Wi-Fi connection is the ideal option. However, ensure that your router supports WPS connection. Check your router for this, and then go ahead with the connection procedure. Let’s get started with the wireless connection process.
Also Read – https://ijstartcanen.com/how-to-connect-canon-printer-to-wi-fi/
How to Setup Canon Wireless Printer Using WPS?
Before getting started, ensure that your Wi-Fi router supports a WPS connection. Once you’re confirmed, you can continue with the steps given below.
- In the beginning, hit the power button on your printer to turn it on.
- Then, turn on your Wi-Fi router using the WPS button.
- Move on to the Home button using the touchscreen and press the Wi-Fi button for a while.
- Now, choose the “LAN Wireless Setup” option and hit the OK button.
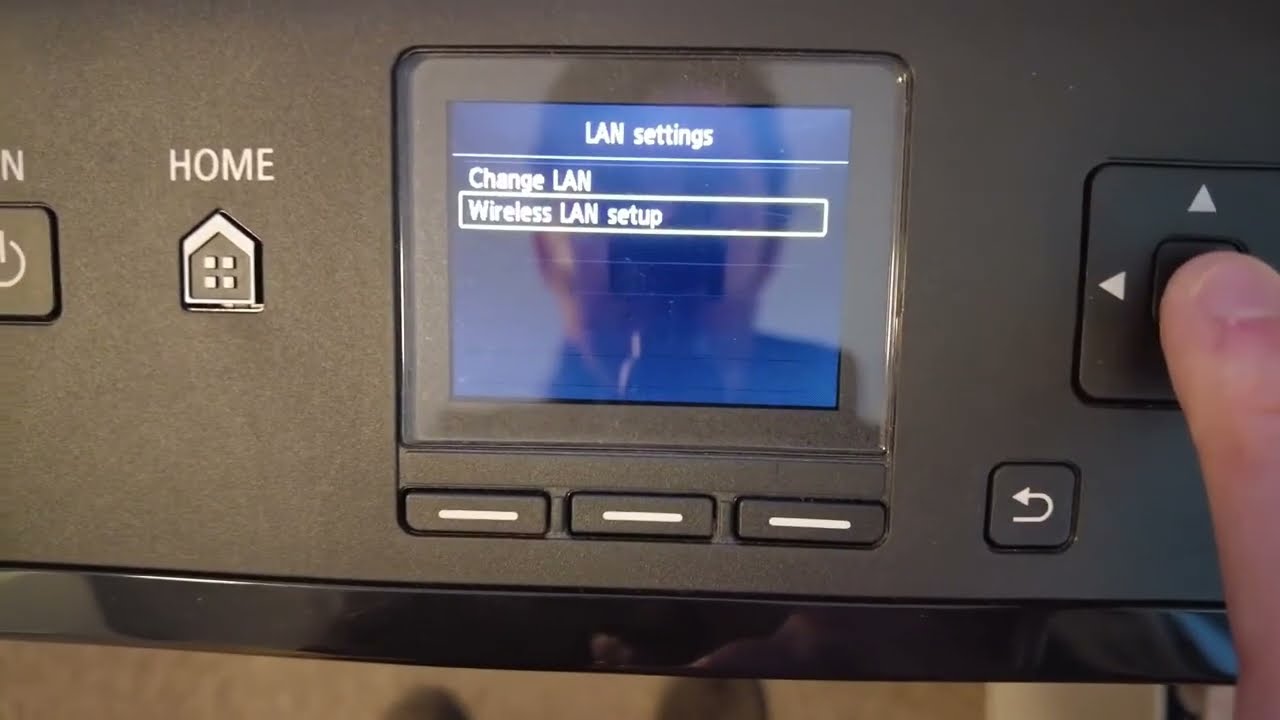
- Your printing device will search for an access point to the wireless network.
- After that, select your Wi-Fi network.
- And then, press your Wi-Fi access point.
- Also, supply your Wi-Fi password when your screen asks you for it.
- It will take some time to setup the connection of your printer with the Wi-Fi router.
- When the wireless connection is set up, you’ll notice that the Wi-Fi light stops flashing.
This is how to setup your Canon wireless printer using a WPS connection. Now, let’s explore the other methods of a wireless printer connection.
How to Setup Canon Wireless Printer via Wi-Fi?
If you want to setup your printer via Wi-Fi, you’ll need to follow the steps mentioned below.
- To start, connect the Canon printing device to a wireless network.
- Then, download and install the printer drivers using Canon’s official website.
- After that, “double-click” on your downloaded file and complete the installation.
- Now, move on to the following step.
- Press the Windows and R keys together simultaneously to launch the “Run” dialog box.
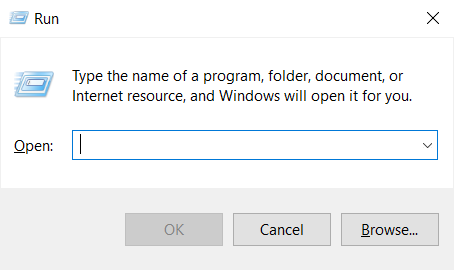
- Next, type “control/name Microsoft Devices and Printers” inside the Run dialog box and hit the OK button.
- And then, you’ll see an “Add Printer” option on the screen.
- Select that option and go with the on-screen directions.
- Moreover, hit OK once your process is over.
- Your printer is setup on your computer over a Wi-Fi network.
- Lastly, you can do a test print to test the functionality of your printer.
That’s how to setup Canon wireless printer on a wireless network.
Note: Before moving with the Canon printer setup, you’ll need to ensure a few conditions. The first thing is to make sure that you have an access point to make an internet connection. Also, you should have a device, whether a computer or a mobile device.
Also Read – https://ijstartcanen.com/how-to-setup-canon-printer-on-laptop/
Why Is My Canon Wireless Printer Not Working Properly?
Finally, you know how to connect Canon wireless printer wirelessly. But sometimes, when you start connecting your Canon printer to Wi-Fi, you may get some error messages. Also, your printer may not be able to print even after being turned on. There are many reasons for this issue. For instance, a big issue can be outdated printer drivers and printer spoolers not enabled. Plus, the Canon printer software issue might be the reason.
Fortunately, you can fix your issue using some methods I have mentioned below. Look at them to fix your issues.
- Verify the automatic driver update.
- Then, update your printer drivers manually. Well, it may take some time, but you’ll surely get the results.
- Now, the automatic update process will show you the compatible printer drivers for your printer.
- Next, head to the Control Panel on your PC.
- After that, move on to the Device Manager option.
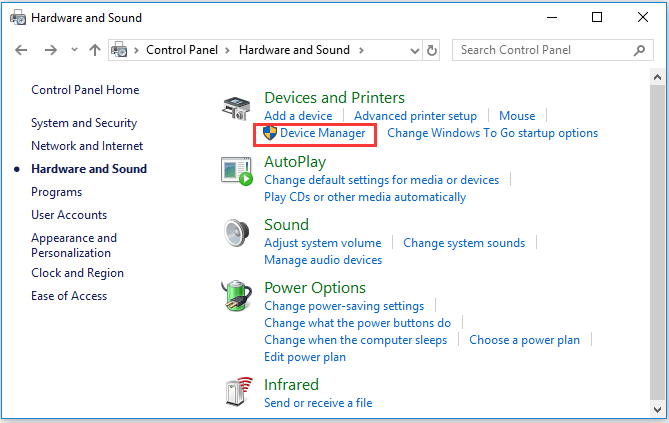
- Also, hit the “Update Driver” option to continue.
- Lastly, your system will start searching for the updates and will install them automatically.
Finally, you know how to setup Canon wireless printer. Now, you’re good to go with the printing work.
FAQs
How to Connect Canon Printer to Phone?
Check the steps below to learn how to connect a Canon printing device to a phone.
- In the first step, install the Canon Print app on your phone.
- Connect your printer to a power socket and turn it on.
- After that, open the Canon Print app.
- Next, click on your printer from the screen.
- Then, hit the Registered Printer option and then hit the Printer Setup.
- Provide the password for your wireless network and hit OK.
- Verify if your printer is on the list and select the printer’s name.
- Lastly, hit the OK to confirm the test print.
How Can I Setup Canon Wireless Printer on My Mac?
In order to set up your printer on a Mac operating system, follow these steps.
- First, turn on your Mac system and printer as well.
- Then, connect your printer to a wireless network using a suitable method.
- Navigate to ij.start.canon to install the Canon printer drivers.
- Hit the Apple menu and choose the System Preferences option.
- Select the Printers and Scanners option using your next prompt screen.
- Select your printer name from the window and hit the Add option.
- Finally, your printer is setup on a Mac computer.
How to Connect My Phone to a Canon Printer via P2P?
Check the steps below to connect your phone to the Canon printing device using P2P.
- On your mobile portal, hit the Direct Connection option.
- Then, scan the QR code and continue with the on-screen directions.
- After that, pair your Android device with your printer via Bluetooth.
- Using the Near Field Communication option, click on the printer.
- Lastly, you will need a few extra phone accessories.